 SnapFlow
Accounts, sign-in & onboarding
Everything before your first real mission: the public site, creating an account, signing in, the onboarding wizard, and the no-login Sandbox demo.
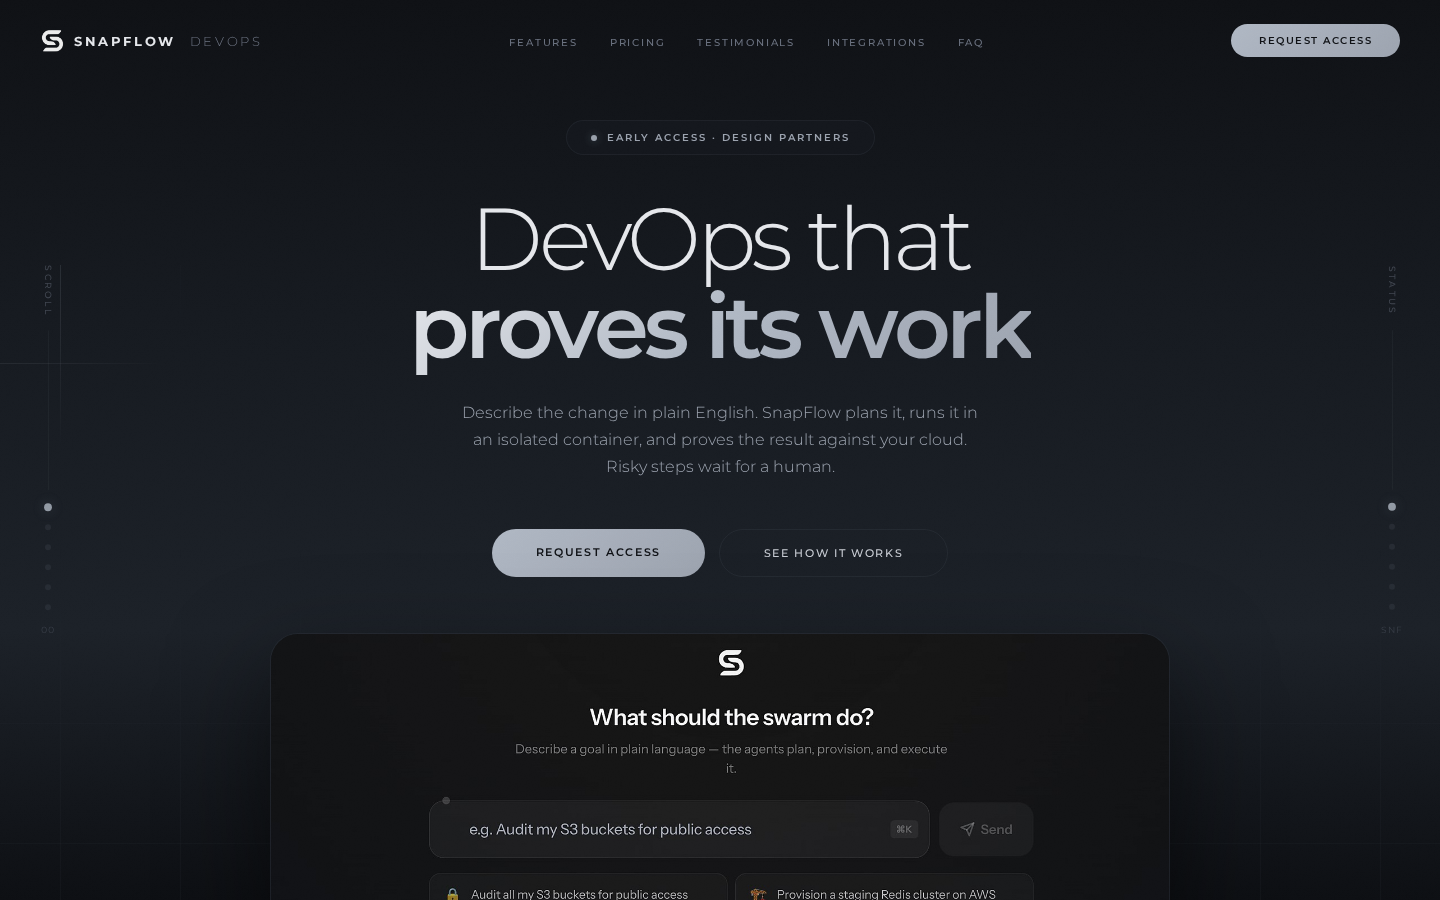
The public landing page
SnapFlow's marketing site is what you see before signing in. The navigation bar has links to Log in and a filled Get Started button; the hero section describes the product and offers two paths: Enter the swarm (goes to sign-up) and Try the Sandbox — no login required (goes straight to the live demo, no account needed).
Creating your account
Go to Sign up from the landing page or navigation bar. There is no plan, tier, seat count, or company-name field on this screen — signing up is a single, free-form step.
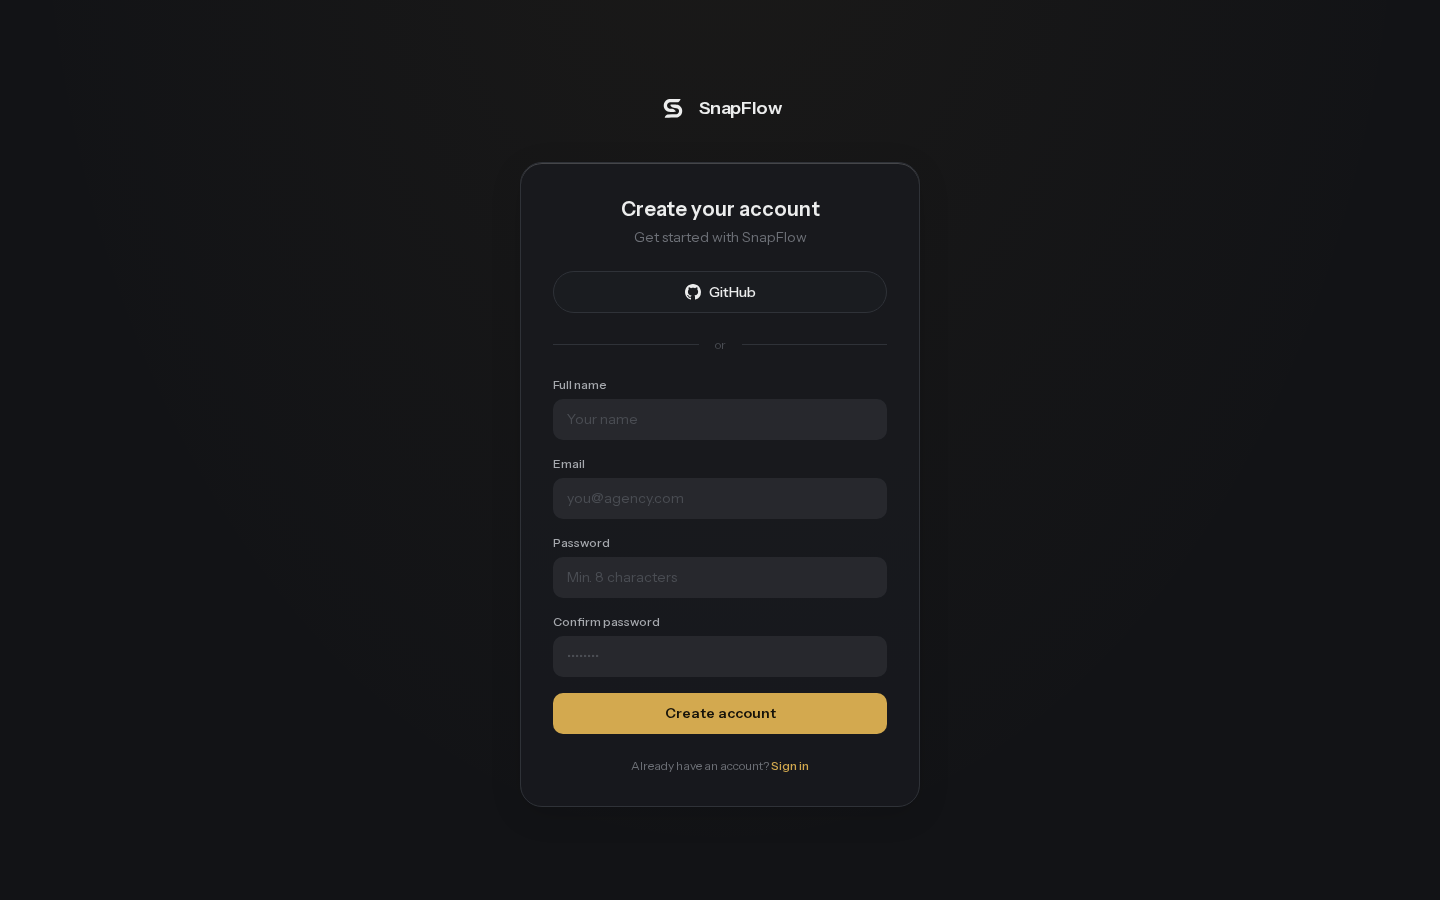
Two ways to sign up:
- Google or GitHub — one click, redirects to that provider's consent screen and back. These buttons (and the divider between them and the email form) only appear if your SnapFlow deployment has that provider configured; on some deployments only GitHub is available.
- Email and password — fill in:
Field Notes Full name Your name, as it will appear on audit records and approvals. Email Used to sign in; must be a valid email address. Password Minimum 8 characters. Confirm password Must match the Password field exactly.
If your passwords don’t match, SnapFlow shows "Passwords do not match." If the password is under 8 characters, it shows "Password must be at least 8 characters." A duplicate email or other server-side problem surfaces its own message, falling back to "Sign up failed."
Click Create account (it reads "Creating account…" while working). On success you're taken straight into the onboarding wizard — every new account starts there, whether you signed up by email or by a social provider.
Signing in
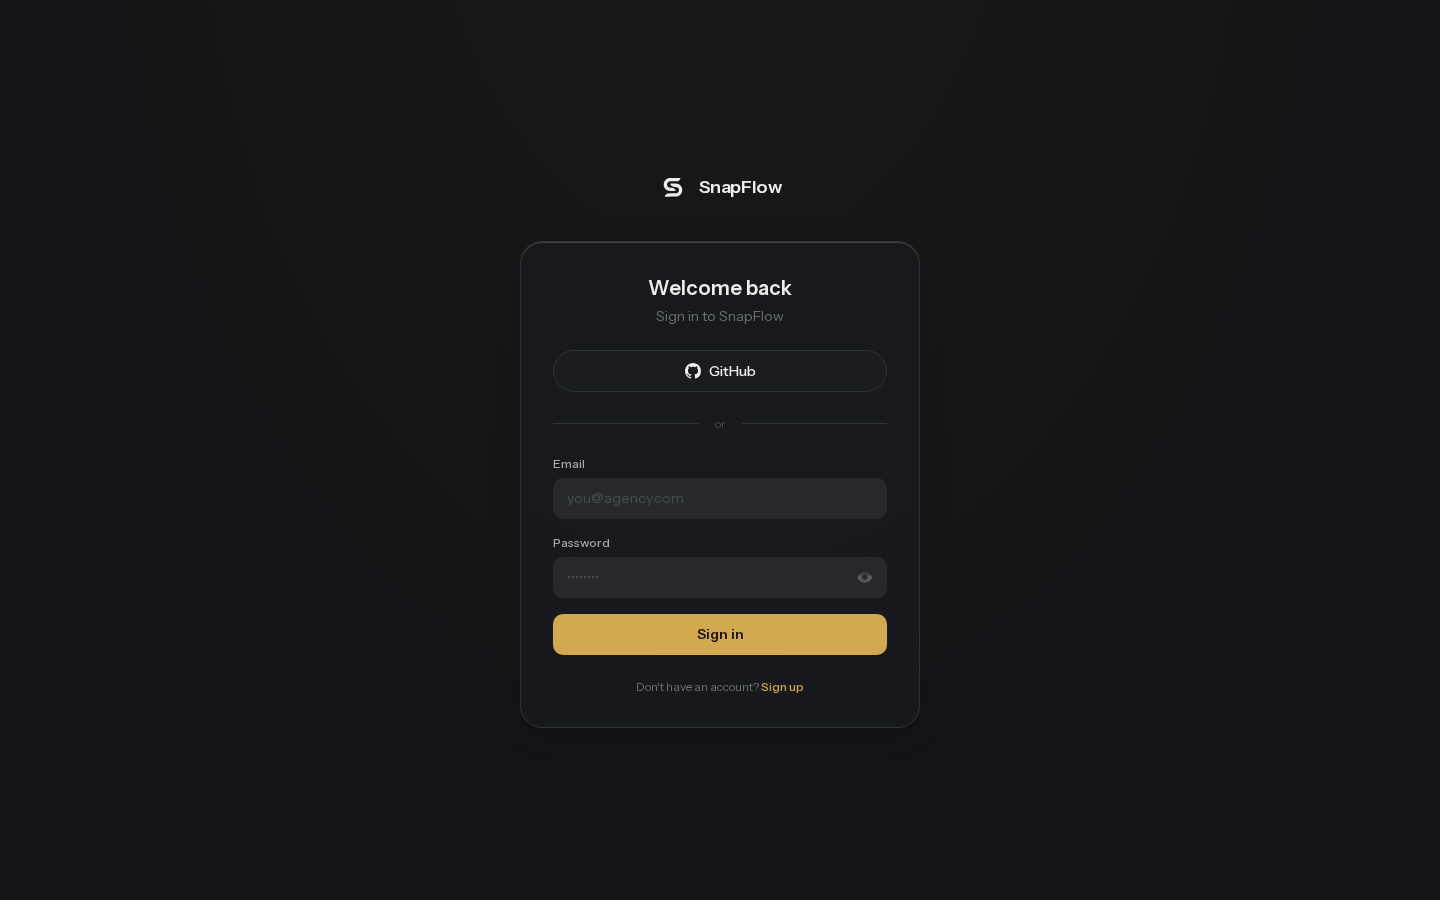
Returning users sign in with email + password, or with Google/GitHub if enabled. The password field has a show/hide toggle (the eye icon). If you submit an incomplete or malformed form, SnapFlow validates client-side before it ever contacts the server:
| Situation | Message shown |
|---|---|
| Email left blank | "Email is required" |
| Email not in a valid format | "Invalid email format" |
| Password left blank | "Password is required" |
| Password under 8 characters | "Password must be at least 8 characters" |
| Wrong email/password combination | "Invalid credentials" |
| Connection problem | "Network error" |
On success, SnapFlow signs you in and takes you to Mission Control — or, if you followed a link that required you to sign in first (for example a shared approval or a deep link), back to that original destination.
Onboarding your workspace
Right after creating an account, SnapFlow walks you through a short, skippable setup wizard so the swarm has something to work with. A progress bar with four labels — Welcome, GitHub, Cloud, Discovery — tracks where you are. You can leave at any point with the "Skip to Dashboard →" link in the header, and every individual step also has its own skip option.
1. Welcome
A short welcome message, a primary button "Set up your workspace" that starts the flow, and a secondary link "I'll connect these later →" that skips straight to the finish screen.
2. Connect your code (GitHub)
Lets SnapFlow read your repositories and any Infrastructure-as-Code files in them. Click Connect GitHub (shows "Connecting..." while redirecting) to go through GitHub's install flow and back. Once linked, a green banner confirms "✅ GitHub connected successfully." The continue button reads "Next: Connect Cloud →" if you connected, or "Skip to Cloud Connection →" if you didn't — either way it moves you forward.
3. Connect your cloud
Three provider cards, each connectable independently — you can link none, one, two, or all three:
| Provider | What SnapFlow can see/manage |
|---|---|
| ☁️ Amazon Web Services | EC2, EKS, S3, IAM, RDS, Lambda |
| 🔷 Google Cloud Platform | GKE, Cloud Run, Compute Engine, Cloud Storage |
| 🔵 Microsoft Azure | AKS, App Service, VMs, Cosmos DB, Storage |
Each card's Connect button redirects to that provider's connection flow and back; once linked the card shows "Connected ✓". ← Back returns to the GitHub step; the forward button reads "Next: Discover Infrastructure →" once at least one provider is connected, or "Skip to Discovery →" otherwise.
Nothing here is a one-time offer — every provider you skip during onboarding can be connected any time from Infrastructure & Targets → Connections. See Infrastructure & Targets.
4. Discovery (automatic)
Nothing to click here — SnapFlow's Discovery Swarm scans whatever you connected and prints its progress as a live-scrolling log (for example "🔍 Scanning AWS account…", "✅ Found N resources in AWS", "📂 Scanning GitHub repositories for IaC files…"). If you connected nothing, it says so and moves on immediately. This step advances automatically once scanning finishes.
5. Your workspace is ready
A summary of what got connected (GitHub, cloud providers, and whether discovery ran, each marked ✅ or ⏭️ Skipped), and a final button — "Enter the Command Center →" — that drops you into Mission Control, SnapFlow's home screen.
Try the Sandbox demo (no account needed)
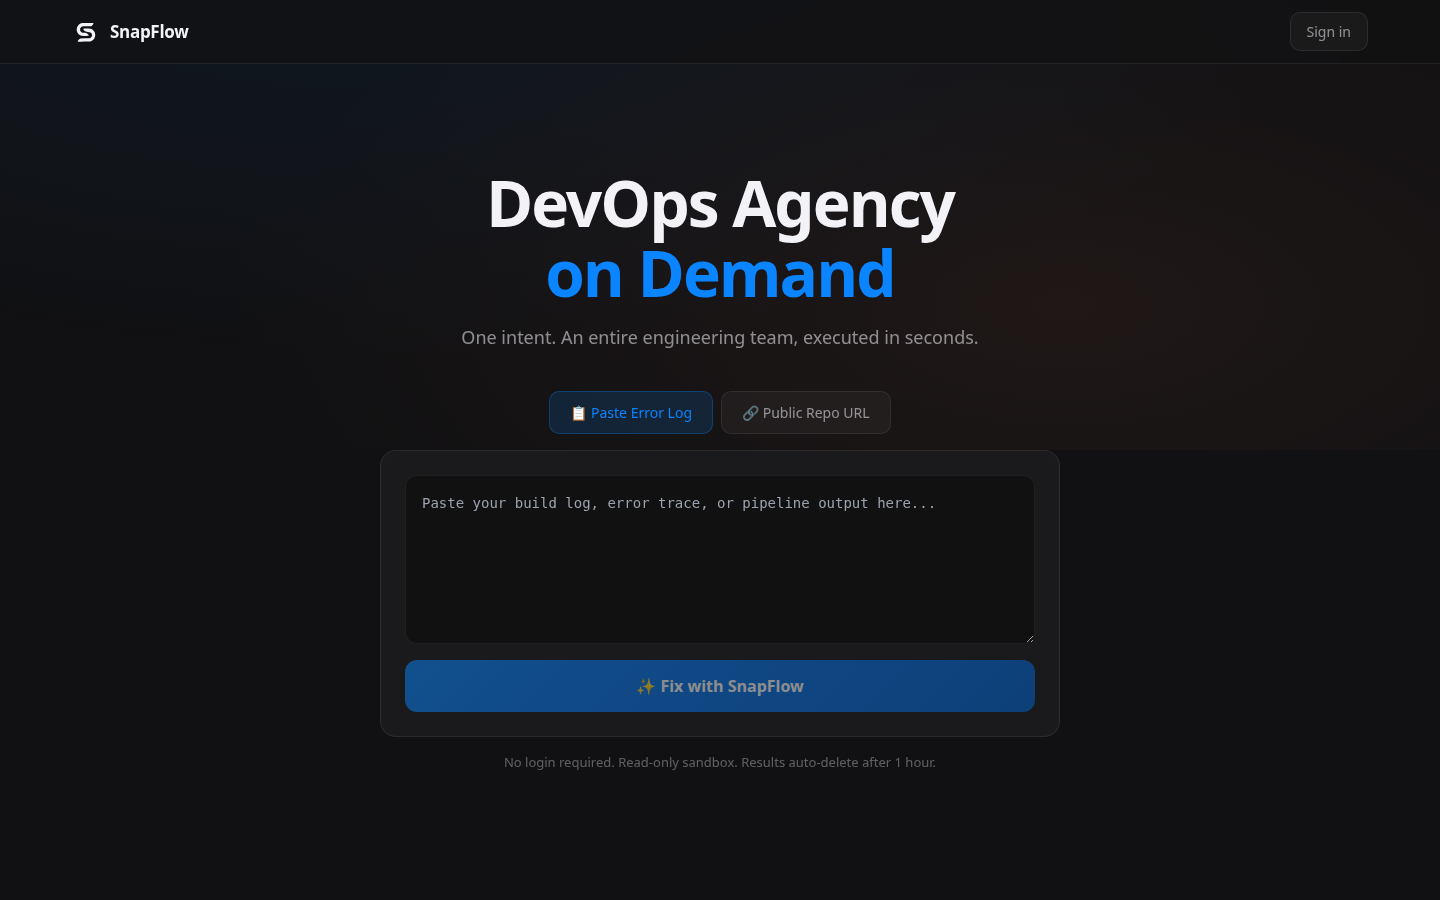
The Sandbox is a public, zero-signup playground at /sandbox. Anyone can try it. Choose one input mode, then submit:
| Mode | What it does |
|---|---|
| 📋 Paste Error Log | A textarea for a build log, error trace, or pipeline output. SnapFlow diagnoses it. |
| 🔗 Public Repo URL | A single field for a public GitHub repo URL. SnapFlow produces a containerization plan for it. |
- Pick a mode and paste your log or repo URL.
- Click ✨ Fix with SnapFlow (shows "⚡ Connecting..." briefly).
- Watch the agents work in a live-scrolling terminal-style log, each line tagged with the responsible agent’s emoji.
- When it finishes, a green result card shows the write-up (diagnosis or containerization plan) with an ⧉ Copy button.
- Click Run this on your own infrastructure → to jump to sign-up, or ← New Request to try something else.
It’s read-only and ephemeral: "No login required. Read-only sandbox. Results auto-delete after 1 hour." It never touches your real infrastructure — that only happens once you’ve connected an account in Infrastructure & Targets.